
22.4.2024 -17.5.2024(week4)
QIULIHUA/0365036
Digital Photography and Imaging/Bachelor of Design (Honours)in Creative Media
|
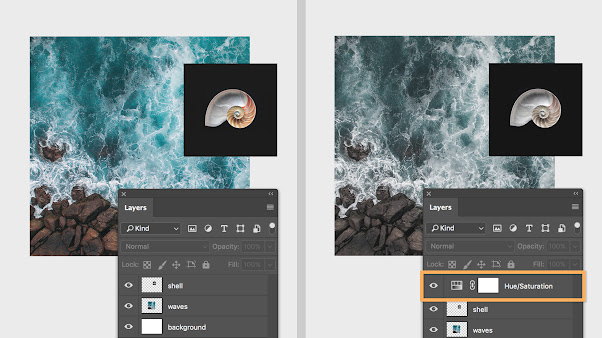
| Fig 1.0Adjustment Layer& Filters |
|
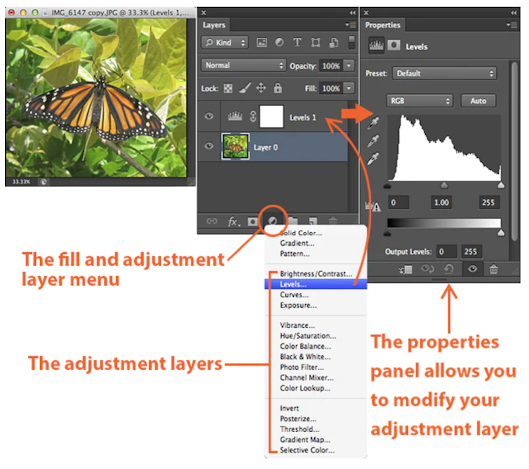
| Fig 1.1Basic understanding of Adjustment Layer |
|
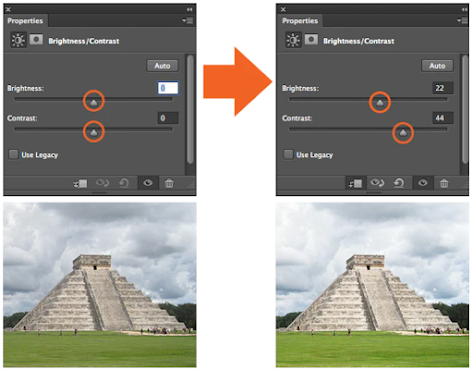
| Fig 1.2BRIGHTNESS / CONTRAST |
|
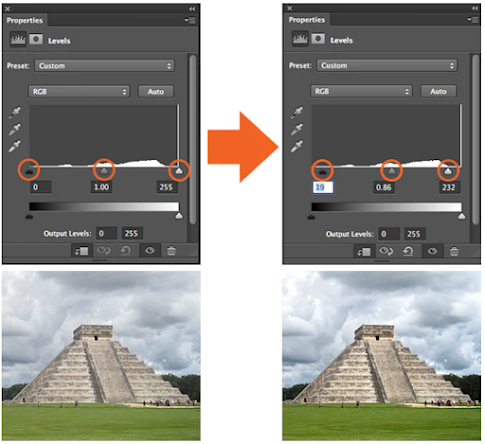
| Fig 1.3LEVEL |
|
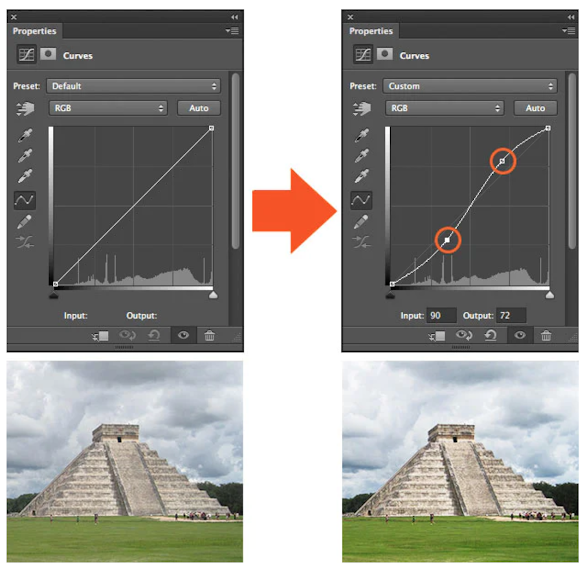
| Fig 1.4CURVES |
|
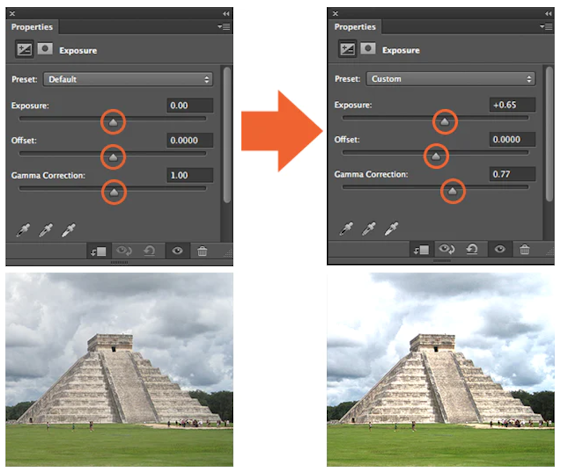
| Fig 1.5 EXPOSURE |
|
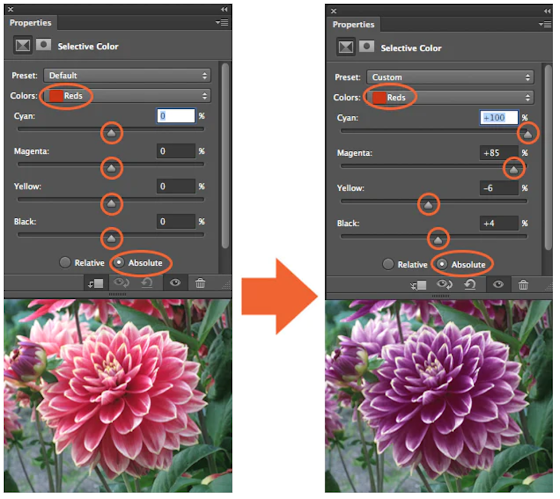
| Fig 1.6 SELECTIVE COLOR |
Based on the video tutorial, create one digital collage using the materials provided.
Follow and complete the weekly progress.
Attach your final digital collage below.
WEEK 3 - PEN TOOL EXERCISE (BEST COMPOSITION)

DESCRIPTION: Created an A4 canvas, during the collage I learned how to make the
image mirror flip, use filters to change the shape of the image, and use CTRL +T to
change the size of the image
WEEK 4 (ADJUSTMENT LAYERS & FILTERS )

DESCRIPTION:I used CTRL + U to change the overall color of each image and I also used Curves
mode to change the overall color. To make the people stand out in the image I selected the
glow layer and used CTRL+J to copy the original layer and then used the blur filter.
REFLECTION
In this lesson I learned how to use Photoshop to change the colours and filters of an image and also found out about shortcuts to change the colours of an image. Better expanding my imagination and colours
Comments
Post a Comment